Fit For
2007 - 2014 Ford EDGE All Models
2007 - 2014 Lincoln MKX All Models
Package Includes:
2x Part# Front Stabilizer/Sway Bar End Links - K750159
2x Part# Front Inner Tie Rods Ends Links - EV800576
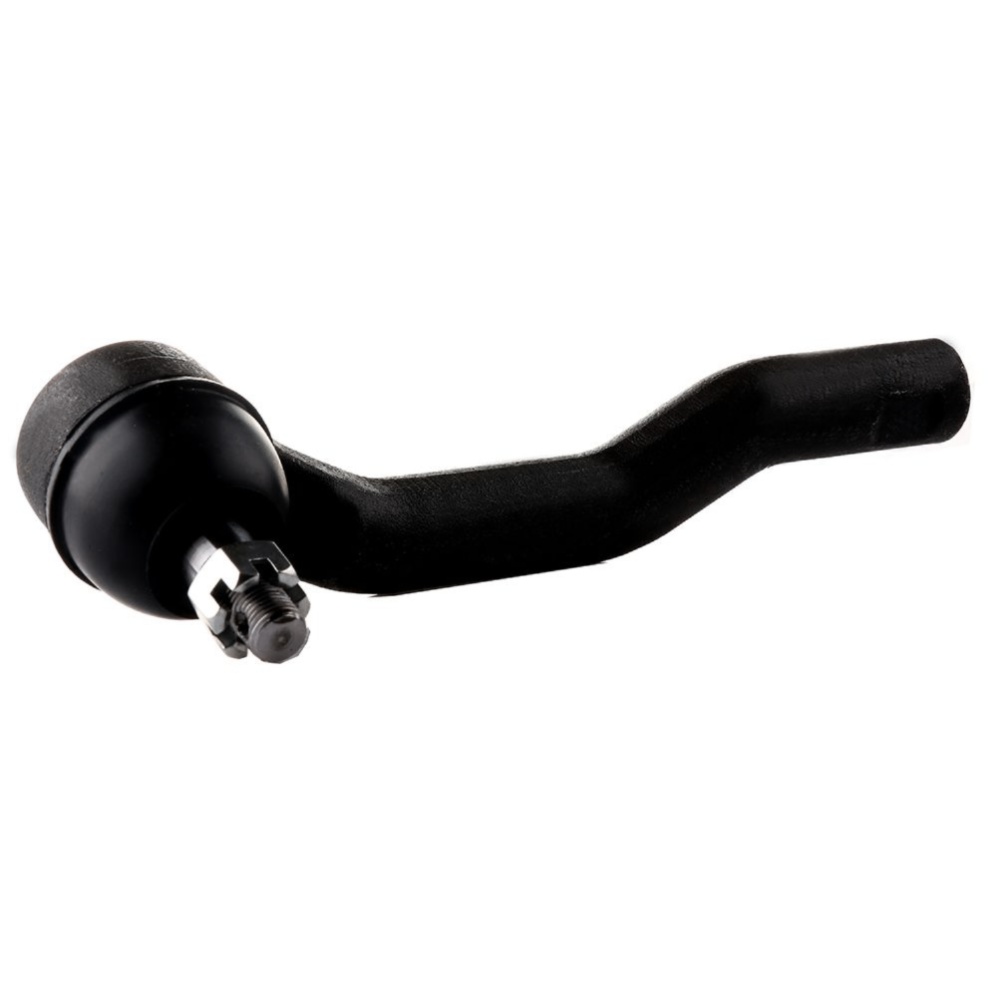
1x Part# Front Passenger Side Outer Tie Rod - ES800473
1x Part# Front Driver Side Outer Tie Rod - ES800474
Notes
Ball Joint Replacement Guideline:
If there is a knocking or clunking noise in the area of the front axle when the car is traveling over road bumps, potholes or curbs, then there is usually a defect in a component of the wheel suspension
The side of the front axle from which the (vibration) noise is emanating can already be determined during a test drive. The type of noise also already provides certain indications for maintenance regarding which components might be faulty
1.Raise the vehicle and remove the front wheels
2.To loosen the fastening screws and fixing nuts of the compression ball joint more easily, spray them with rust remover and allow to act for a few minutes
3.Loosen the fastening screws of the broken ball joint on the control arm and remove the nuts
4.Loosen and remove the fixing nut of the ball joint on the steering knuckle
Tip:If the ball stud rotates, hold the ball stud in place with a hexagon socket
5.Remove the bad or worn ball joint from the control arm
6.Loosen the compression ball joint on the steering knuckle using a suitable special tool
7.Clean the cone connection
Tip:For better sealing and durability of the ball joint sleeve, a little silicone grease can be applied to the contact surface
8.Insert new compression ball joint in the control arm and steering knuckle and tighten with new fixing nuts
9.Reinstall front wheels. Lower the vehicle and tighten the wheel studs to the tightening torque specified by the vehicle manufacturer
10.Measure the chassis and adjust it using the various holes on the compression ball joint if necessary
11.Finally, carry out a test drive
Sway Bar Stabilizer Link Replacement Guideline:
While driving, the following signs may indicate a faulty sway bar stabilizer link:
(1).Rattling and thumping noises on rough roads
(3).Stronger inclination of the vehicle during cornering
If the sway bar stabilizer link is found to be defective, it should be replaced as described below
1.Raise vehicle and remove front wheels
Tip:Always check both stabilizer links and replace them in pairs if necessary
2.Spray fastening nuts of the stabilizer link with rust remover and let act for a few minutes
3.Loosen the lower fastening nut of the stabilizer link at the stabilizer and remove
Tip:If the ball stud also starts to turn, hold it with a suitable tool
4.Press stabilizer link out of torsion bar
5.Loosen the upper fastening nut of the stabilizer link at the suspension strut and remove it
6.Press stabilizer link at suspension strut out of bracket
7.Insert new stabilizer link at suspension strut
8.Tighten stabilizer link at suspension strut to the tightening torque specified by the vehicle manufacturer
Tip:Secure the ball stud against twisting with a suitable tool
9.Insert new stabilizer link at stabilizer
10.Tighten stabilizer link at stabilizer to the tightening torque specified by the vehicle manufacturer
11.Remount the front wheels. Lower the vehicle and tighten the wheel studs to the tightening torque specified by the vehicle manufacturer
Tip:Even if replacing the stabilizer link does not directly affect the chassis setting, we recommend checking the axle setting and adjusting if necessary after working on the suspension
12.Conclude with a test drive
Tie-Rod End Replacement Guideline:
This useful tip applies to the exchange of tie rod ends and inner tie rods, which together form the so-called tie rod
Note: Cleanliness is extremely important when working on the power steering. Incorrect work and contamination can lead to leakage and, in the worst case, to failure of the steering assistance
1.Lift the vehicle and dismount the front axle wheels
2.Spray the fastening nut of the tie rod end with rust remover and leave it on for a few minutes
3.Dismount the front underride guard
4.Loosen the fastening nut from the tie rod and remove it completely
5.Remove the tie rod end from the steering knuckle using an appropriate ball joint separator
6.Remove the clamp of the bellow on the steering gear
7.Push the bellow towards the tie rod end
8.Unscrew the inner tie rod from the rack
9.Clean the sealing face of the bellow at the steering gear
10.Clean the lug of the rubber contact surface of the ball joint in the steering knuckle
Note:Always use new self-locking nuts and bolts for a reliable repair
11.Screw the new inner tie rod into the rack and tighten it with the tightening torque that has been specified by the vehicle manufacturer
12.Mount the bellow and close the clamps with the appropriate special tool
Note:Incorrect mounting of the bellow can lead to corrosion of the rack: the steering gear starts leaking which can lead to a failure in the steering assistance
13.Secure the ball joint in the steering knuckle and mount the nut. Please observe the tightening torque suggested by the vehicle manufacturer
Note:During mounting, the ball stud should not turn within the ball joint. This can cause damage inside the ball joint and can lead to early failure
14.Mount the front underride guard
15.Mount the front wheels and tighten them with the tightening torque recommended by the vehicle manufacturer
16.Align the wheels and adjust them if necessary. Observe the vehicle manufacturer specifications
17.Perform a test drive
Frequently Asked Questions
(1).Do I need to replace the control arm if the bushings are worn?
(2).What happens if a ball joint breaks?
When a ball joint breaks, you will hear a mysterious noise inside your car wheel
Your car tire will wear-out since your alignment will be broken, and you will feel the car getting out of control
If the ball joint breaks completely, it can be separated, and things can turn sour quickly. The wheel will stop being nice and can even steer you off the road. It can be serious
Broken ball joints will seriously affect the steering and suspension. It can even result in your wheel falling off the car
(3).What happens if I don\'t replace ball joints?
(4).Do I need to grease new ball joints?
I would say it will be a wise decision if you grease your new ball joints. At least I will always grease a new 1 after the installation. Greasing a new ball joint will make it stronger and extend its lifetime because there is a minimal amount of grease inside. I suggest you do so after the first installation. Follow the instruction card
(5).Why should I get my tie rods inspected on a regular basis?
(6).Vibrations
(7).Shaking
(8).Wandering
(9).What are the symptoms of a bad sway bar?
(10).What happens when a sway bar breaks?