
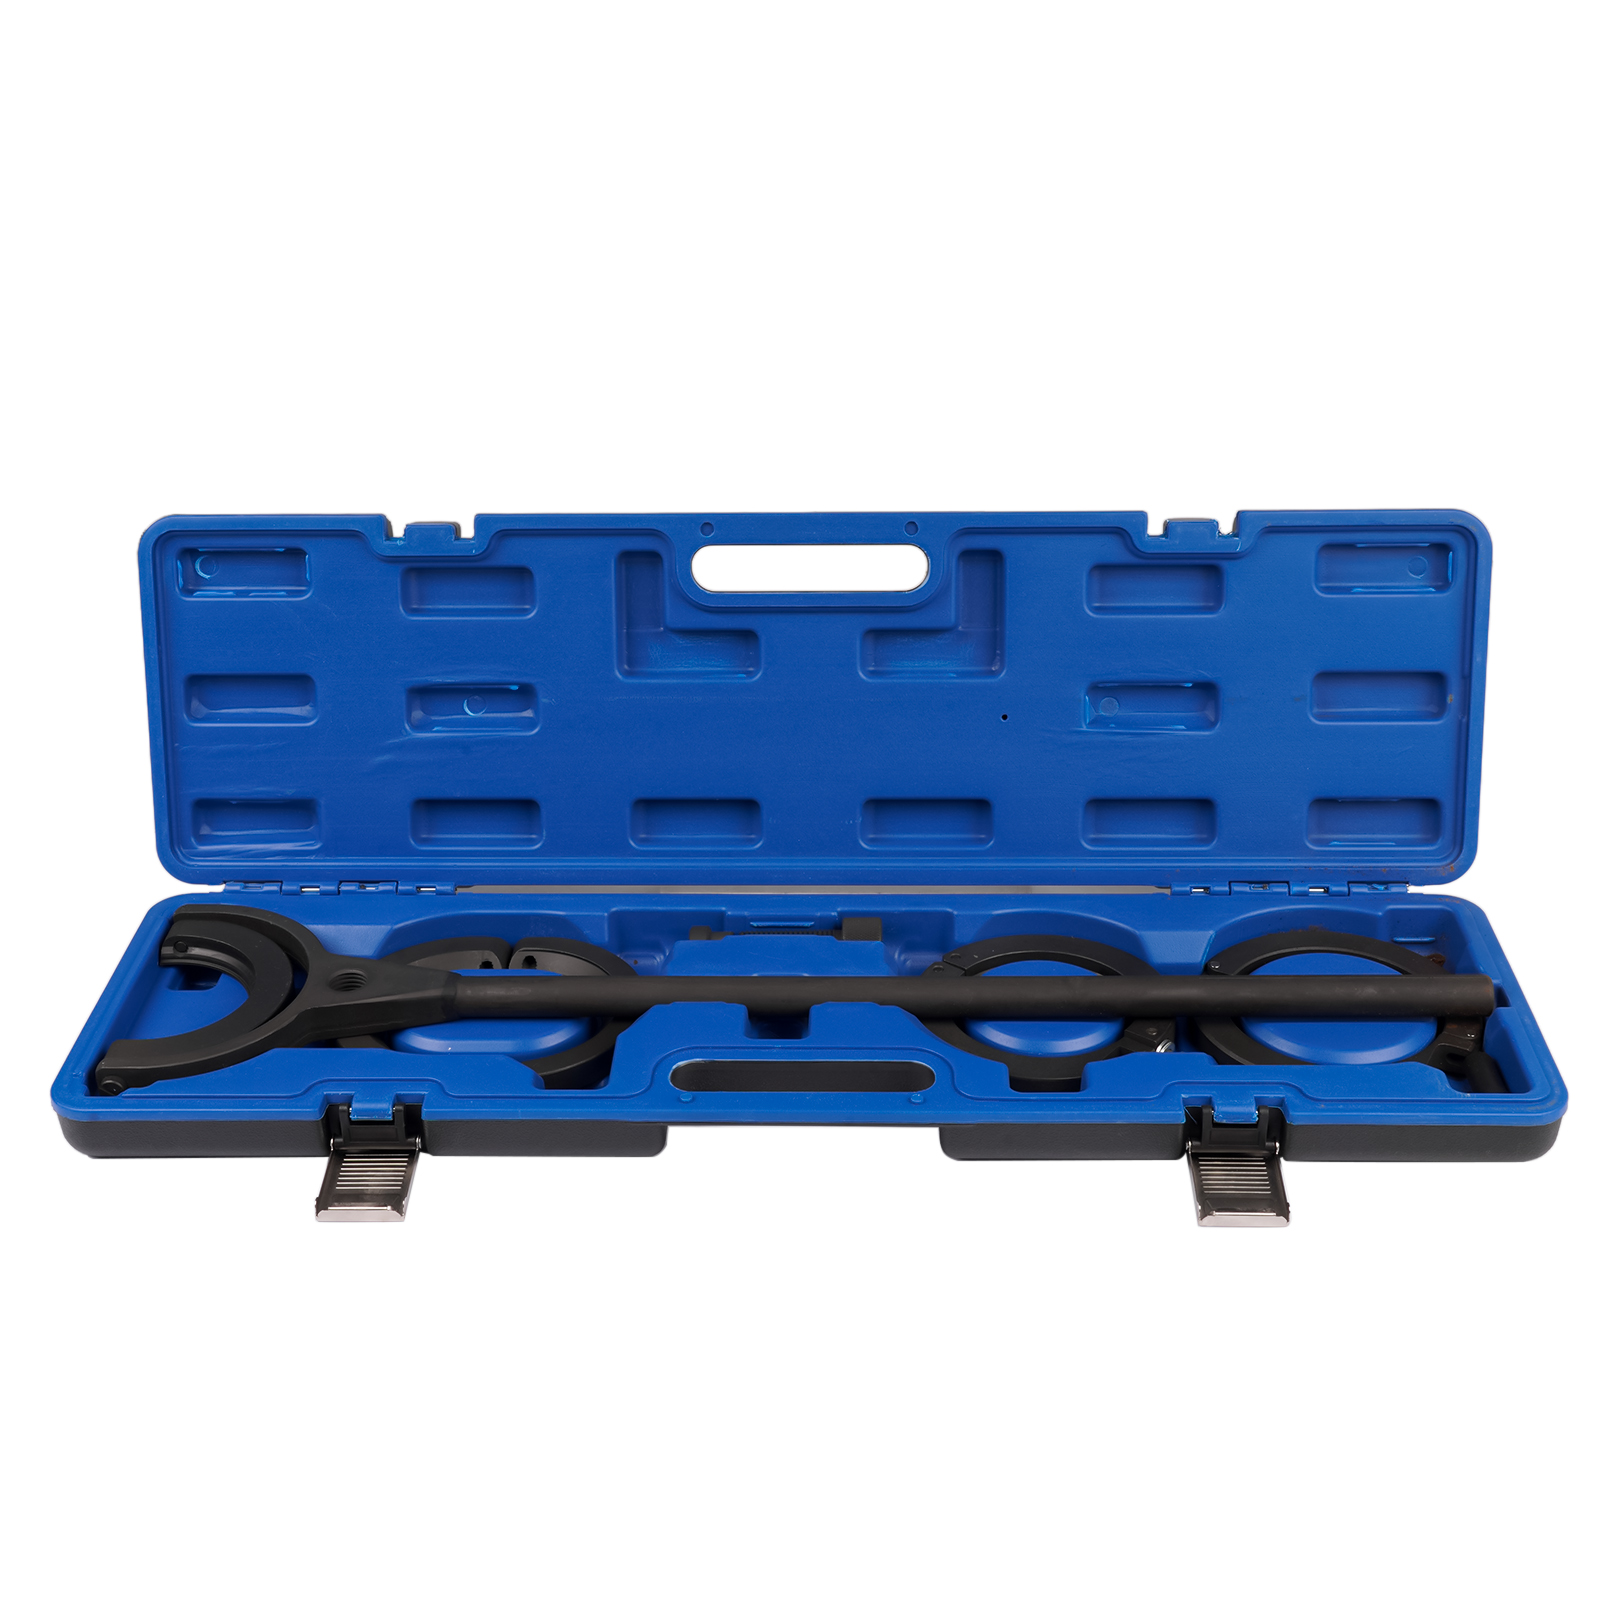
Rear Differential Output Shaft Removal Tool Kit
N° de pièce BHPXFOWNTI
154,35 $US-5%162,07 $US
Spécifications clés
- Condition
- New
- Country of Origin
- CN
- OE Number / OE Code
- 83 30 0 495 853;83 30 0 495 854;83 30 0 495 855;83 30 0 495 856;83 30 0 495 857;83 30 0 496 765;83 30 0 496 795
- Package Contents
- 3 x Split Clamp; 1 x Jacking Screw; 1 x Pull Rod; 1 x Blow-Molded Case; mounting hardware not included
- Has OE
- Oui
Détails complets du produit
Spécifications
| Attributs du produit: Condition | New |
|---|---|
| Attributs du produit: Country of Origin | CN |
| Attributs du produit: OE Number / OE Code | 83 30 0 495 853;83 30 0 495 854;83 30 0 495 855;83 30 0 495 856;83 30 0 495 857;83 30 0 496 765;83 30 0 496 795 |
| Attributs du produit: Package Contents | 3 x Split Clamp; 1 x Jacking Screw; 1 x Pull Rod; 1 x Blow-Molded Case; mounting hardware not included |
| Attributs du produit: Has OE | Oui |
| Attributs personnalisés: Number of Pieces | 1 |
|---|---|
| Attributs personnalisés: Material | Carbon Steel |
| Attributs personnalisés: Finish | Black Oxide Coated |
| Détails du produit: Pièce universelle | Non |
Numéros OE

Compatibilité
0 véhicules au total.
Aucun véhicule compatible disponible pour ce produit.