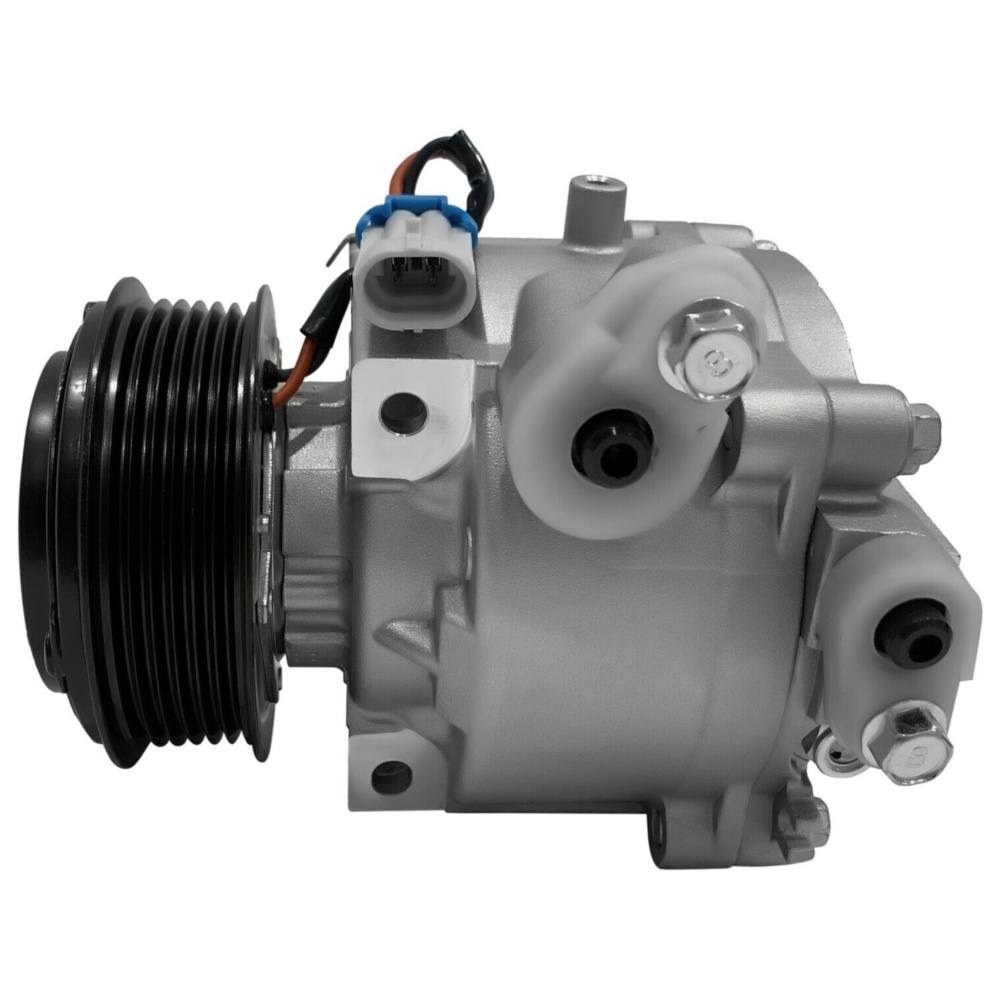
COMPRESSOR INSTALLATION INSTRUCTIONS
Please read these instructions prior to any repairs on your vehicle.
Follow all federal, state, and local regulations when repairing an automotive A/C system
Take appropriate safety precautions –
1. Wear eye protection (safety glasses)
2. Do not smoke next to the vehicle when performing repairs
3. Work in a well-ventilated area
4. Wear skin protection (such as gloves and closed toe shoes)
5. Recover refrigerant before making repairs
REMOVING THE OLD COMPRESSOR
1. Open the hood of the veh icle and locate the A/C Compressor
2. Remove the A/C belt from the A/C Compressor pulley. This may involve loosening the belt tensioner (if it is equipped)
3. Evacuate the A/C system using a refrigerant recovery machine
4. Disconnect the negative battery cable
5. Remove the bolt that secures refrigerant lines to the A/C Compressor. Then, inspect the A/C lines for any contamination such as metal or excessive dirt inside them. If any contamination is found, the system will need to be cleaned
6. Disconnect any electrical connectors from the A/C Compressor
7. Remove the AC Connections. Remove the A/C Compressor mounting bolts
8. Remove the A/C Compressor from the vehicle
INSTALLING THE NEW or REMANUFACTURED A/C COMPRESSOR
1. Once the old compressor has been removed, begin by removing the receiver/drier or accumulator, and the expansion valve or orifice tube from the vehicle.
2. Next, flush the condenser and evaporator using a non-oil basedA/C flush. The valve must be removedon expansion valve system before the evaporator can be flushed.
Flush evaporators from inlet to outlet
Flush condensers from outlet to inlet
NOTE: Condensers produced from 1990 – present are extremely difficult to clean. As a result, if the compressor had a major failure, it is recommended that the condenser be replaced
3. This compressor comes pre-filled with the correct amount of oil. Thus, there is no need to add any additional oil to your system
4. Install the new receiver drier or accumulator, and new expansion valve or orifice tube
5. Next, install the new or remanufactured A/C Compressor
6. Install and tighten the A/C Compressor mounting bolts
7. Reconnect any electrical connectors to the A/C Compressor
8. Re-install the refrigerant lines and A/C belt to the A/C Compressor
9. Reconnect the negative battery cable
10. Evacuate the A/C system with an A/C servicing machine for at least 1 hour
11. Check the system for leaks
13. Start the vehicle’ engine and turn on the A/C system
Make sure the windows and doors of the vehicle are open.
Thank you from everyone here at A/C Compressors!