
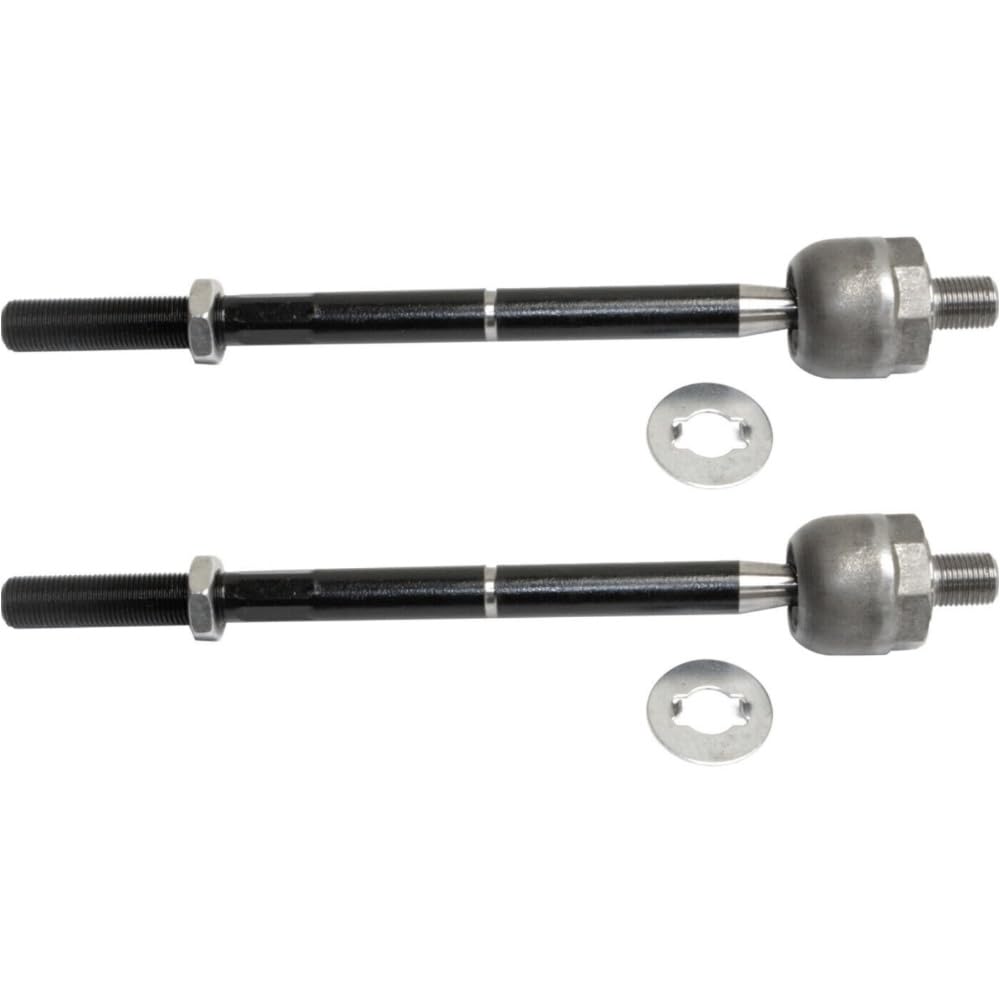
Front Inner Tie Rod Ends, Set of 2, 4WD
$59.36-4%$61.73
Key specifications
- Condition
- New
- Country of Origin
- US
- OE Number / OE Code
- EV432;MEV432;52106405AJ
- Package Contents
- 2 x Front Inner Tie Rod End; mounting hardware not included
- Has OE
- Yes
Full product details
| Condition | New |
|---|---|
| Country of Origin | US |
| OE Number / OE Code | EV432;MEV432;52106405AJ |
| Package Contents | 2 x Front Inner Tie Rod End; mounting hardware not included |
| Has OE | Yes |
| Placement on Vehicle | Front Left;Front Right |
| Number of Pieces | 2 |
| Color | Painted |
| Material | Stainless Steel |
| Finish | Painted |
| Universal part | No |
Full product details
Specifications
| Product attributes: Condition | New | Product attributes: Country of Origin | US |
|---|---|---|---|
| Product attributes: OE Number / OE Code | EV432;MEV432;52106405AJ | Product attributes: Package Contents | 2 x Front Inner Tie Rod End; mounting hardware not included |
| Product attributes: Has OE | Yes | Custom attributes: Placement on Vehicle | Front Left;Front Right |
| Custom attributes: Number of Pieces | 2 | Custom attributes: Color | Painted |
| Custom attributes: Material | Stainless Steel | Custom attributes: Finish | Painted |
| Product details: Universal part | No | ||
OE numbers
Compatibility
No compatible vehicles are available for this product.
Product Description
Overview Set of two front inner tie rod ends for steering system replacement. The tie rod ends connect the steering linkage to the steering knuckle and help transmit steering input to the wheels. Key Features - Adjustable - Set includes two tie rod ends - Listed for 4WD applications - Manufacturing standards listed as SO9001 and QS9000 Reference Numbers Interchange: EV432, MEV432, 52106405AJ What's Included 2 x Front Inner Tie Rod End; mounting hardware not included Installation Raise and secure the vehicle on jack stands. Remove the wheel and disconnect the old tie rod end from the steering knuckle and inner tie rod. Measure and mark the original length, install the replacement, adjust it to the recorded length, secure the hardware, reassemble, and check alignment.
