
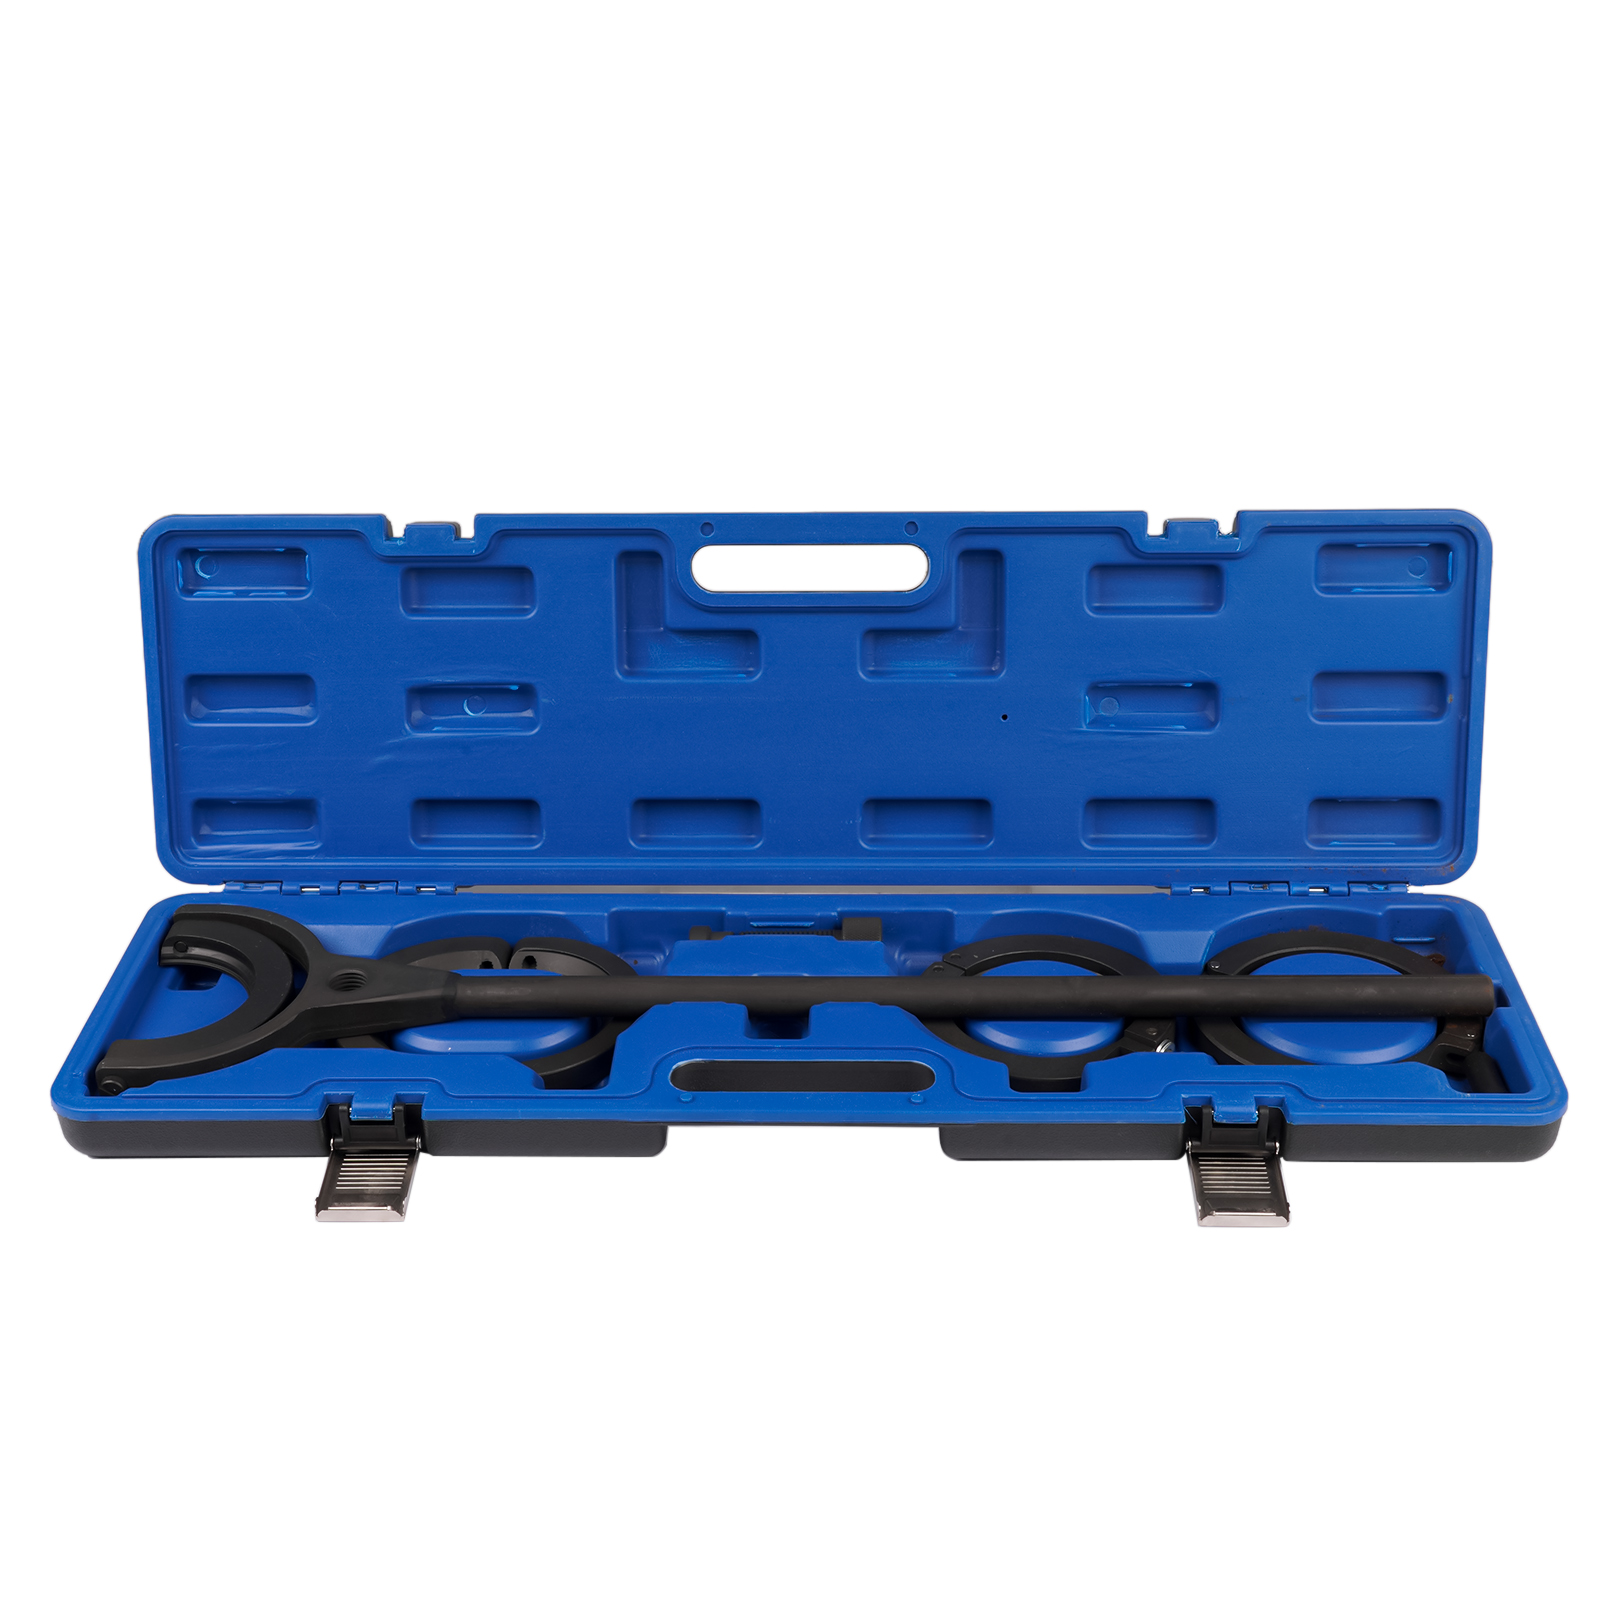
Rear Differential Output Shaft Removal Tool Kit
Part no. BHPXFOWNTI
$154.35-5%$162.07
Key specifications
- Condition
- New
- Country of Origin
- CN
- OE Number / OE Code
- 83 30 0 495 853;83 30 0 495 854;83 30 0 495 855;83 30 0 495 856;83 30 0 495 857;83 30 0 496 765;83 30 0 496 795
- Package Contents
- 3 x Split Clamp; 1 x Jacking Screw; 1 x Pull Rod; 1 x Blow-Molded Case; mounting hardware not included
- Has OE
- Yes
Full product details
Specifications
| Product attributes: Condition | New |
|---|---|
| Product attributes: Country of Origin | CN |
| Product attributes: OE Number / OE Code | 83 30 0 495 853;83 30 0 495 854;83 30 0 495 855;83 30 0 495 856;83 30 0 495 857;83 30 0 496 765;83 30 0 496 795 |
| Product attributes: Package Contents | 3 x Split Clamp; 1 x Jacking Screw; 1 x Pull Rod; 1 x Blow-Molded Case; mounting hardware not included |
| Product attributes: Has OE | Yes |
| Custom attributes: Number of Pieces | 1 |
|---|---|
| Custom attributes: Material | Carbon Steel |
| Custom attributes: Finish | Black Oxide Coated |
| Product details: Universal part | No |
OE numbers

Compatibility
0 vehicles in total.
No compatible vehicles are available for this product.