ONE YEAR WARRANTY
Feature
Easy installation
Placement on Vehicle: Front
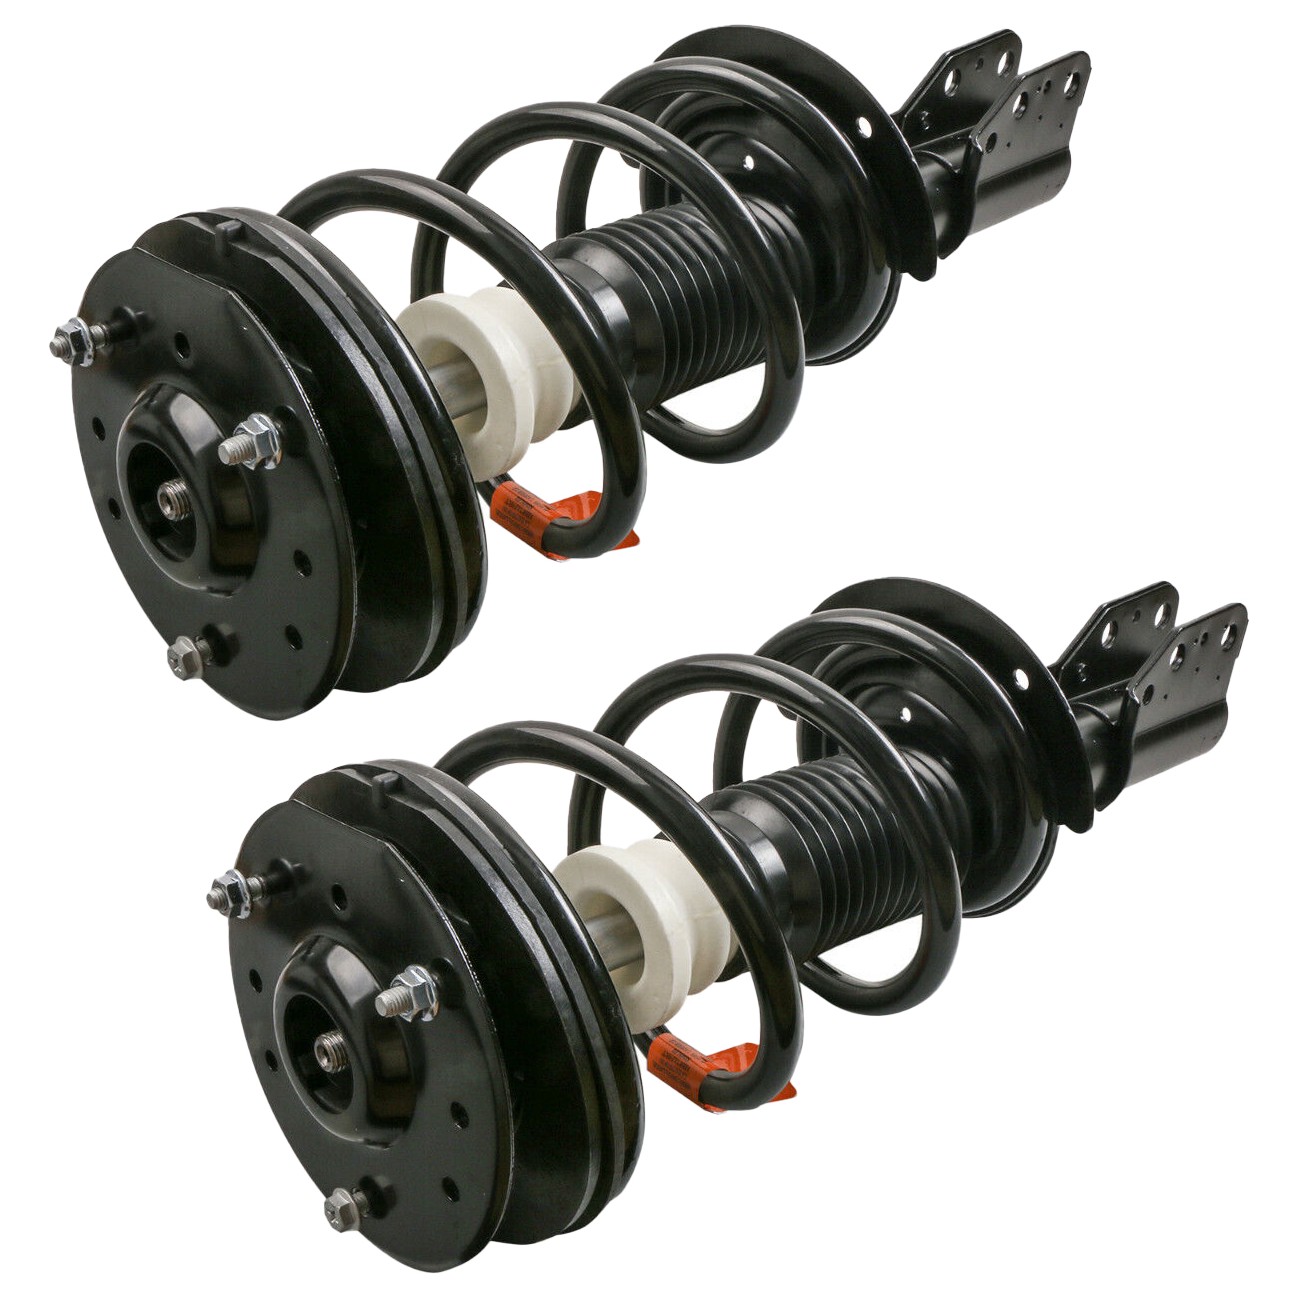
Includes a pair of Complete Front Strut Assembly
Interchange Part Number: 171672
Fitment
MAKE | MODEL | YEAR RANGE
CHEVROLET | CLASSIC | 2004-2005
CHEVROLET | MALIBU | 1997-2003
OLDSMOBILE | ALERO | 1999-2004
OLDSMOBILE | CUTLASS | 1997-1999
PONTIAC | GRAND AM | 1999-2005
HOW TO INSTALL
Step 1: Before you lift the vehicle, loosen lug nuts one full turn
Step 2: Jack up vehicle and use jack stands for safety & remove the tire from the rotor
Step 3: (Wheel alignment is necessary after strut replacement.) Marking the position of all the bolts will help keep the alignment close to original and save time aligning. Use a colored pencil to mark the old strut on the bolt
Step 4: Use penetrating oil (such as WD40) to coat any rusted fasteners, let soak for approximately 1 hour
Step 5: (Optional) While waiting for oil to soak, take this time to inspect all other components that may need replacement (brake pads, rotors, brake hoses, ball joints, CV boots, tie rod ends, bushings, sway bars, etc)
Step 6: Remove any brake line or wire attachments from the strut body. Do not disconnect brake lines (if possible)! Opening brake lines will require bleeding of the brake system
Use extreme caution when removing brake lines from your struts, as any damage to your brake line can result in expensive and time consuming repairs
Step 7: Remove sway bar attached to the strut assembly or control arm
Step 8: Remove the tie rod (only if it attached to the body of the strut, if not leave it attached to the steering knuckle)
Step 9: Remove the strut to knuckle bolts at the bottom of the strut. On some vehicles, the brake caliper and rotor may need to be removed to gain access
Step 10: Remove the upper mounting plate bolts located in the engine or trunk compartment. Do not remove the center retaining nut! It is not safe to unload the spring from the assembly in this position
Step 11: Carefully remove the old strut assembly from the vehicle. Be very cautious not to let the strut "drop" down on your brake line, rotor or drum
Step 12: Install the new Complete Strut Assembly in the reverse order as above (steps 11-6). Using an anti-seize compound on all fasteners is suggested
Step 13: Carefully double check your work and make sure everything is tightened to manufacturers torque specifications
Step 14: Replace the tire the rotor and tighten to manufacturers torque specifications
Step 16: It is very important that you immediately "road test" your vehicle right away to ensure that installation was done properly. Listen and feel for common signs of incorrect installation while driving slowly over speed bumps, rough road or potholes